This is part 2 of the series of editing guides of the Star Citizen Wiki. This guide is a step-by-step process on VisualEditor basics - or, how to use the most common tools the VisualEditor offers.
This guide is made from the perspective of a logged-in user with default preferences. It also assumes you have read the first guide; if you haven't, please do so first!
This guide covers four very common things:
- Links
- Bold and italics
- Bulleted and numbered lists
- Images
Walkthrough
Starting
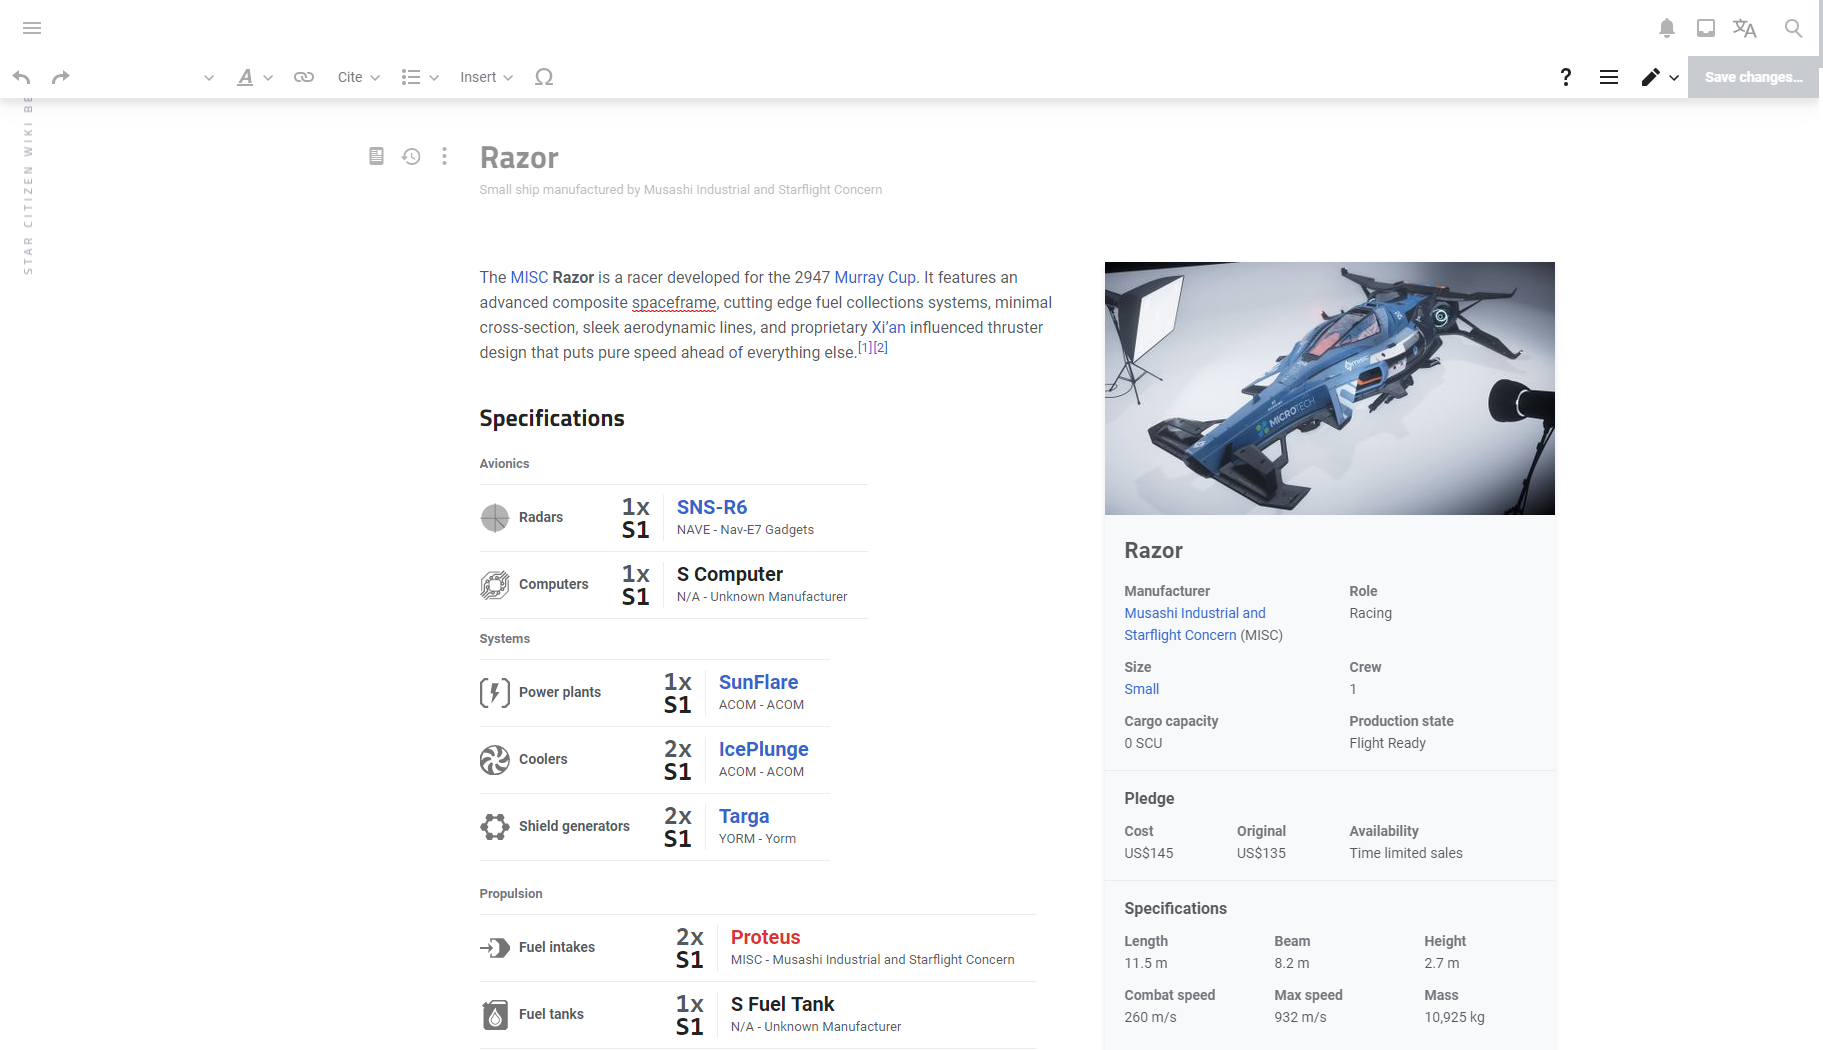
For this demonstration, I'll be showing Razor, but not saving any of my edits. This is just to show how to do things. The following sections were done in this order, but you don't have to follow that if you don't want to.
Open up the edit screen.

Links
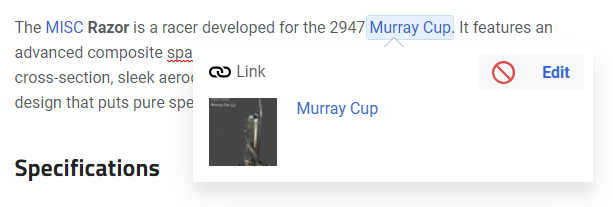
Links are probably the most important thing to use after plain text. First off, click (left or right) the "MISC" link here to show this window:

The icon shows what the action is — a link has a chain — and the text shows something about the element; for links: the destination. From here you can click the link to view the page it is linking to, remove the link or edit it, using the edit button.

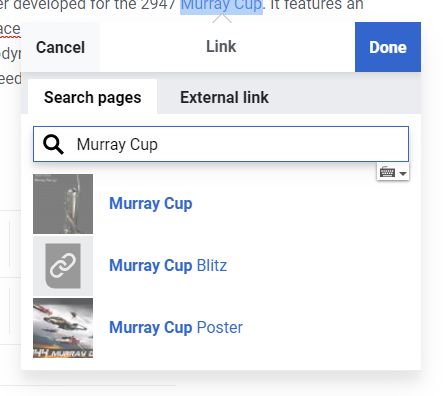
This is the link edit window. As you can see, it is pretty simple. You can change the destination of the link by typing in the search box and selecting the page that you want to link to. Changing the destination won't change the text (you do that by just typing where it says "Slayer" in the prose).
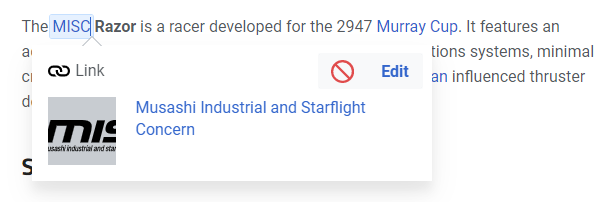
Here's another example further down the page, where the text says "MISC" and the link is to "Musashi Industrial and Starflight Concern".

Adding a link is as simple as selecting the text you want to link, then clicking the link button. This will open the link edit window with the default text of the highlighted word(s).

That's really all there is for links.
Policy
Link policy is fairly simple and is covered by the style guide. The main takeaways for the VisualEditor are:
- If you mention the same thing on a page several times, in general, it should only be linked once, unless the page is very long (excluding things like tables, templates, and navboxes).
Bold and italics
This is simpler than links but generally less important, so here it is. Bold and italic are simply applied by selecting the text and clicking the B or I in the drop-down options from the style text button.

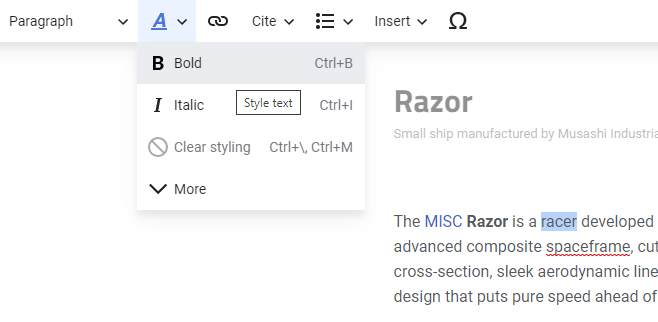
Removing bold/italics is done in exactly the same way - highlighting the text and clicking the button.
Bold and italics can both be applied to the same thing by clicking both buttons.
Policy
This is also covered by the style guide.
- Bold and italics should generally be used sparingly.
- Using both at the same time should be done even less often.
- The first mention of the article's name (in the opening sentence, usually) should be bolded. Other instances should not.
- Titles of works (i.e. real-world books, TV shows, movies, video games, etc.) should be italicized.
- Ship names (e.g. UEES Retribution) should be italicised.
- This includes the name of the game Star Citizen.
- Bold and italics can be used for emphasis, but this should be done only when necessary. It is common for editors to bold the word "not"; however, most cases are unnecessary. Bolding an entire sentence is never appropriate. If a section of prose is important enough that it needs to stand out, then the text should be reworded to emphasize that point; for example, you could place this text at the beginning of the paragraph, or separate it as its own paragraph.
Underlines should be avoided, so they are not covered here.
Lists
Lists come in two forms - bulleted lists and numbered lists - which are essentially interchangeable in terms of setting them up. Numbered lists are generally for things that require an order, like a list of instructions, whereas bulleted lists are for unordered lists, like a shopping list.
Lists are added by clicking the relevant drop-down button in the top toolbar:

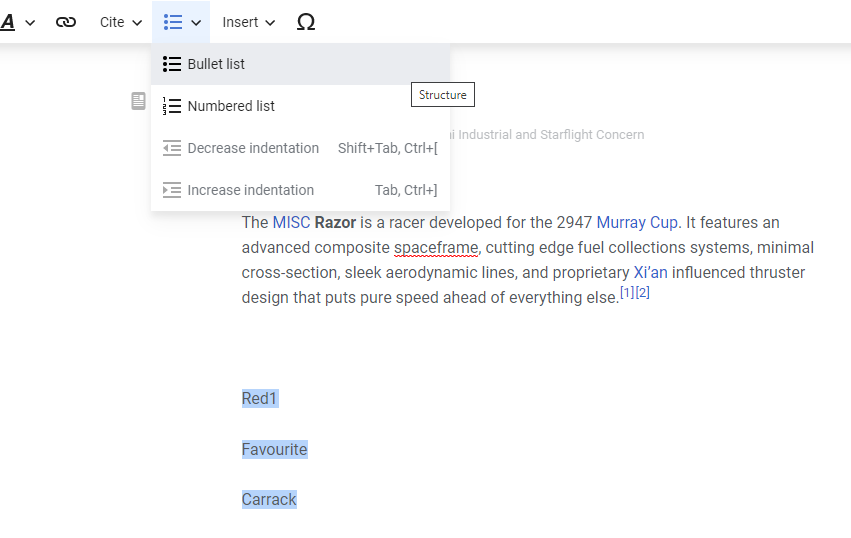
If your cursor is on a line with text already (including if you have any text selected), the entire line/paragraph will become the first item in the list. To have a blank first item, add a linebreak (press enter) before clicking the button. You can also click the button to remove the list (or change the type).
Once you have one bullet/number, the next bullet/number is added by pressing enter at the end of a line. Pressing enter when the item is empty removes it and finishes the list.
Policy
There are currently no guidelines on how to use lists, but common sense should prevail.
If you're writing out bullets with each having the same type of information each, in a specific pattern, consider using a table instead (tables covered in the next guide).
Images
Images are the most complex thing covered in this guide, but they're used very often so they're pretty important.
Images are added by clicking the icon on the top bar. (You can remove images by just clicking on them and pressing backspace or delete.)

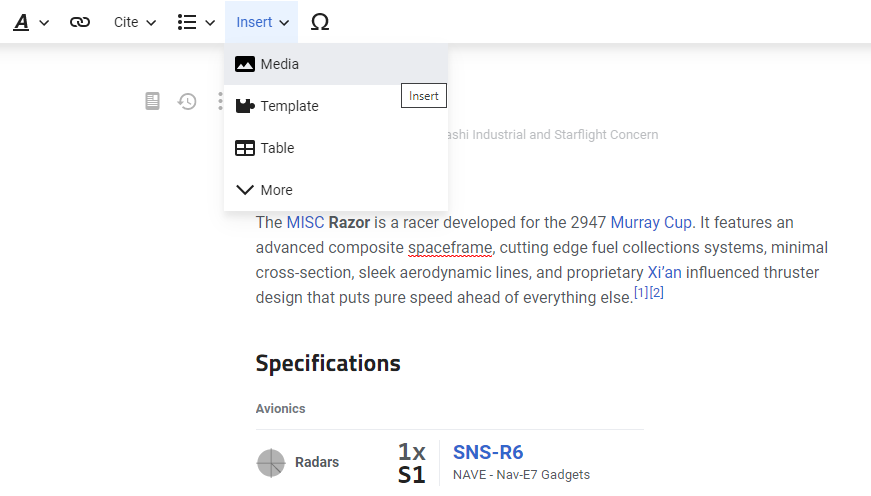
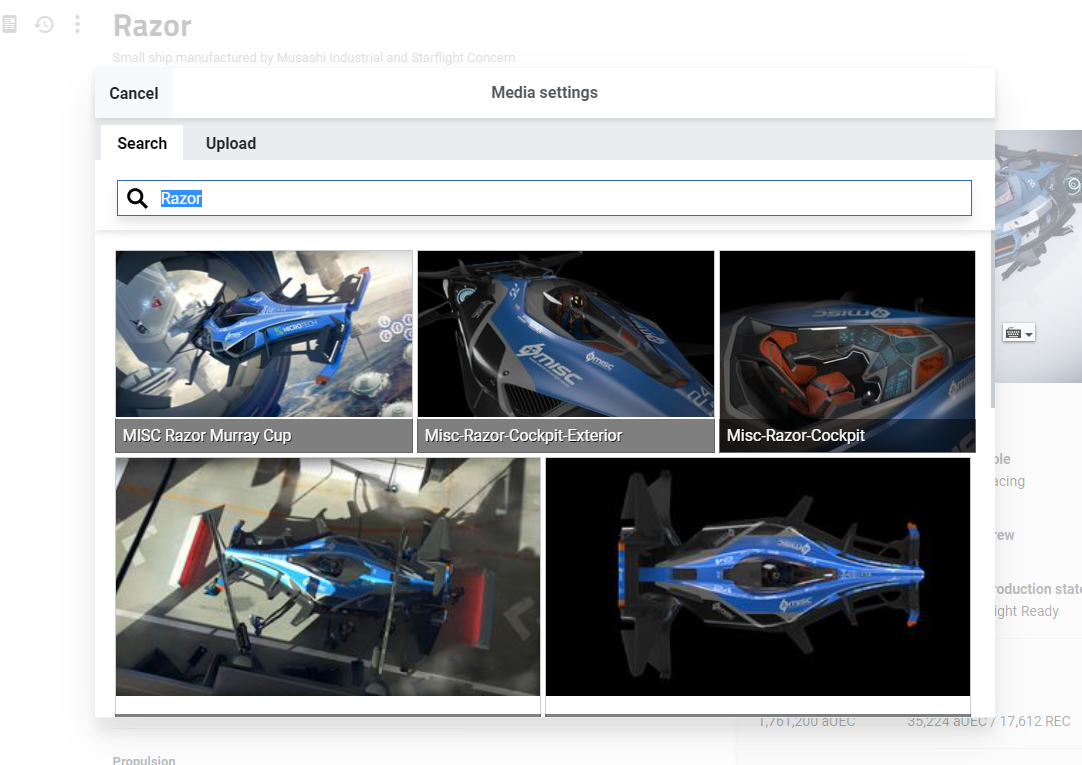
This opens the image insertion dialogue, which offers to search for an image from one that already exists on the wiki or upload a new image. Uploading will be covered in a future guide, so we're just going to search for now. Our images adhere to a specific naming guide (see below), so you should easily be able to find what you're looking for. For now, I'm just going to search "razor" and add an image, which is a concept art of Razor in a race.

Clicking the image in this dialogue shows a full view of the image with some information about it, and clicking use this image at the top-right of the window will open the media settings window.
You can set a caption in the "General settings" page, which will appear below the image. Captions can contain links, bold, italics, and so on, like normal text.

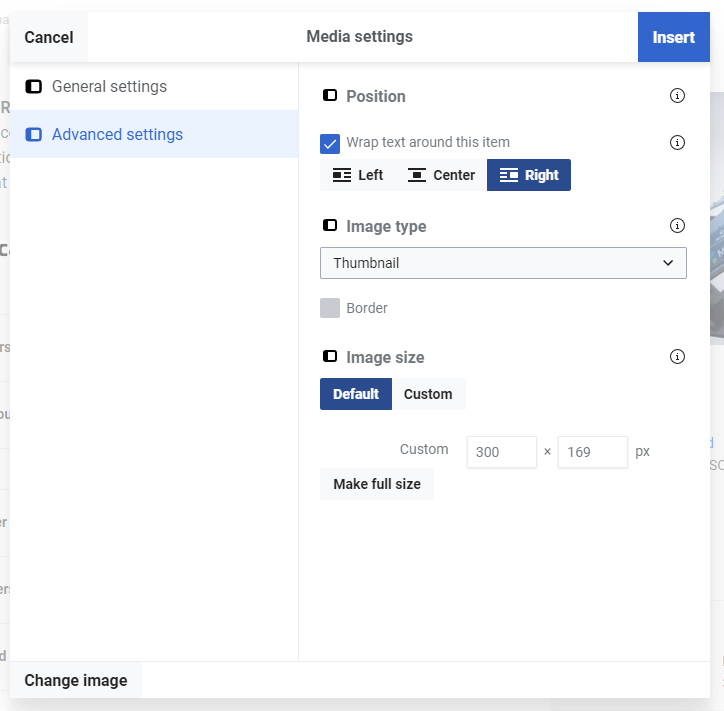
The "Advanced settings" page is about position and size of the image. This is where you can specify a size, rather than using the drag handles. You can also specify whether to float left, right or centred on the page.

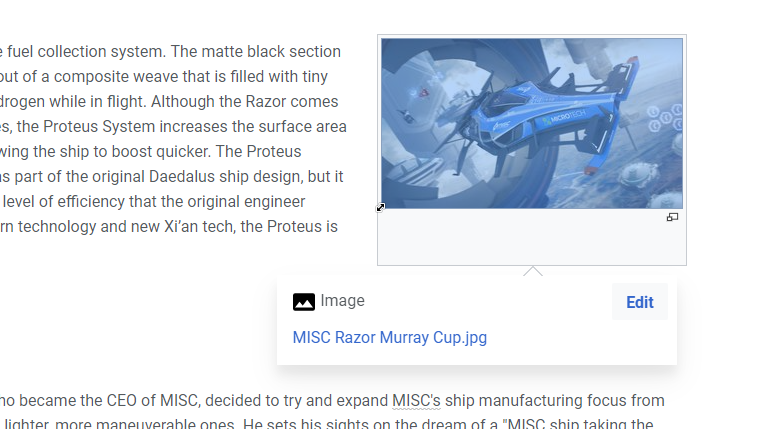
Clicking insert will add the image to the page.

Once the image is on the page it can be moved around by clicking and dragging it, resized using the drag handles in each corner, and you can re-enter the settings by clicking it and clicking the icon/text in the popup.
Notes
Be aware that editing an image too much will often make it unable to be positioned properly - you may have to use source mode.
There are many other features of images that the VisualEditor cannot use - these will be covered in the source mode guide.
Policy
Image usage policy is, again, covered by the style guide.
- Images should mostly be left or right-aligned, with center alignment used sparingly.
- Note that sometimes templates like infoboxes will occupy the right side of the page. In that case, but the image on the left or center instead.
- Keep in mind that the image placement might behave differently on mobile.
- Captions should end in a full stop if they are a complete sentence, and not have a full stop if they are not.
Policy on uploading images is covered by the images and media policy. This will be covered in more detail by the uploading images guide.
See also
- The next guide in the series is Star Citizen:Editing/VisualEditor advanced, about using the VisualEditor to edit references, tables, and templates. You may prefer to see the source mode version of this guide at Star Citizen:Editing/Source mode basics.
- Star Citizen:Style guide
- Star Citizen:Images and media policy